Can Am Renegade How to Check Radiator Fluid Level
Assuming you would like a how-to on Check Radiator Fluid Level on a Can-Am Renegade: Checking the radiator fluid level on your Can-Am Renegade is a simple process that should be done regularly as part of your bike’s maintenance routine.
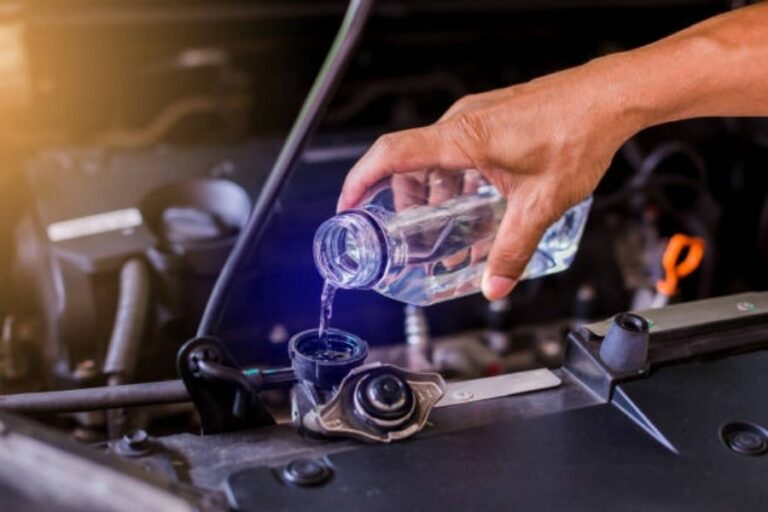
You’ll need to remove the radiator cap and visually check the level of fluid inside. The ideal level should be just below the top of the filler neck. If it’s low, add more fluid until it reaches the proper level.
If you’re like most people, checking the radiator fluid level in your Can-Am Renegade is probably not something you think about on a regular basis. But, it’s actually a pretty important maintenance task that can help keep your engine running smoothly and prevent costly repairs down the road.
Here’s a quick guide on how to check your radiator fluid level:
- Park your Renegade in a safe, level spot and turn off the engine.
- Remove the radiator cap (located on the top of the radiator) and take a look at the fluid level inside. It should be right up to the edge of the filler neck.
- If it looks like the fluid level is low, add more until it reaches the proper level. You can use water or antifreeze/coolant for this purpose.
- Once you’ve added enough fluid, replace the radiator cap and start up your engine to check for any leaks.
If all looks good, you’re good to go.
How Do You Check Radiator Fluid Level Can-Am Oil Level?
Assuming you would like a blog post discussing how to check the oil level in a Can-Am vehicle: “Can-Am vehicles are among the most popular and reliable on the market, but like any engine, they need regular maintenance to run their best.
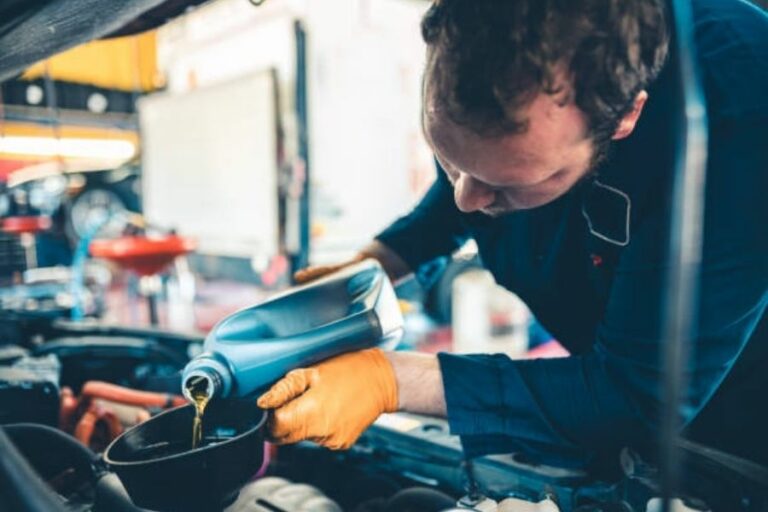
Checking and changing your oil is one of the most important things you can do to prolong the life of your engine and keep it running smoothly.
Here’s a step-by-step guide to checking your oil level in a Can-Am vehicle.
- Park your vehicle on level ground and turn off the engine. Wait for a few minutes so that the oil has time to settle.
Remove the dipstick from the engine and wipe it clean with a rag or paper towel. - Reinsert the dipstick all the way into the engine, then remove it again and check where the oil level falls on the dipstick. The oil should be between the two marks on the dipstick (full and add).
If it’s below those marks, you’ll need to add more oil; if it’s above, you have too much oil in your engine and should drain some out.
Where is the Coolant on a Can-Am Outlander?
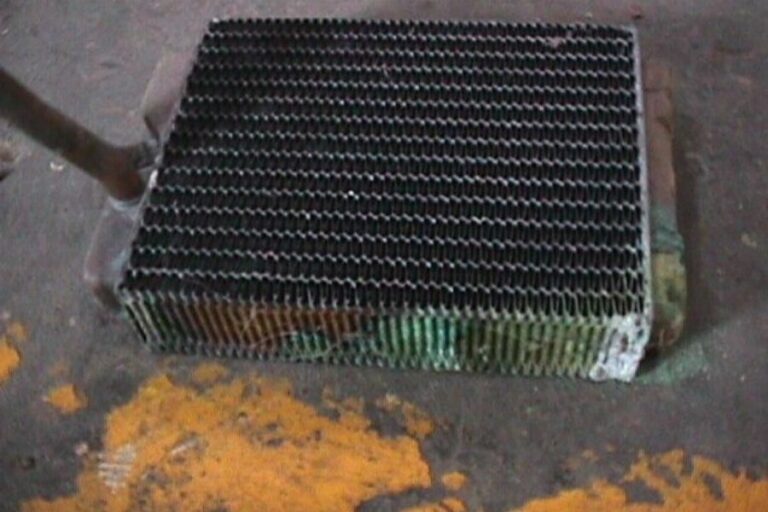
If you’re looking for the coolant on a Can-Am Outlander, you’ll find it in the radiator. The radiator is located in the front of the engine, and the coolant is used to keep the engine cool.
How Do I Check the Oil Level on My Atv?
If you’re like most people, checking the oil level in your ATV is probably something that you don’t do very often. But it’s actually a really important part of maintaining your ATV and keeping it running properly.
Here’s a quick guide on how to check the oil level in your ATV:
- Park your ATV on a level surface and turn off the engine.
- Locate the dipstick (usually it’s near the front of the engine).
- Pull out the dipstick and wipe it clean with a rag.
- Reinsert the dipstick all the way into the engine and then pull it out again.
- Check where the oil level is on the dipstick (there should be markings for “full” and “low”). If it’s below the “low” mark, then you’ll need to add more oil to your ATV.
Can-Am Renegade Coolant Flush
If your Renegade is starting to run a little hot, or if you’ve never flushed the coolant and it’s been a while, it’s time for a coolant flush.
Flushing the coolant will remove any built-up deposits and ensure that the cooling system is running efficiently. Here’s how to do it:
- Start by draining the old coolant. Remove the radiator cap and drain the coolant into a catch basin. Be sure to dispose of the used coolant properly – don’t pour it down the drain.
- Once all of the old coolants have been drained, flush the system with clean water. This will remove any residual deposits from the system.
- Refill with fresh coolant using a 50/50 mix of water and antifreeze. Be sure to use a quality antifreeze – we recommend Can-Am Coolant Conditioner (part # 711200).
- That’s it. Your Renegade’s cooling system should now be good as new and ready to take on whatever summer temperature throws it’s way.
Can-Am Outlander Coolant Location
If you’re looking for the coolant location on your Can-Am Outlander, it’s actually pretty simple. Just look under the hood, and you’ll find it right next to the radiator. The coolant reservoir is usually a clear plastic container, so you should be able to see it easily.
If your coolant level is low, simply add more coolant until it reaches the “full” line.
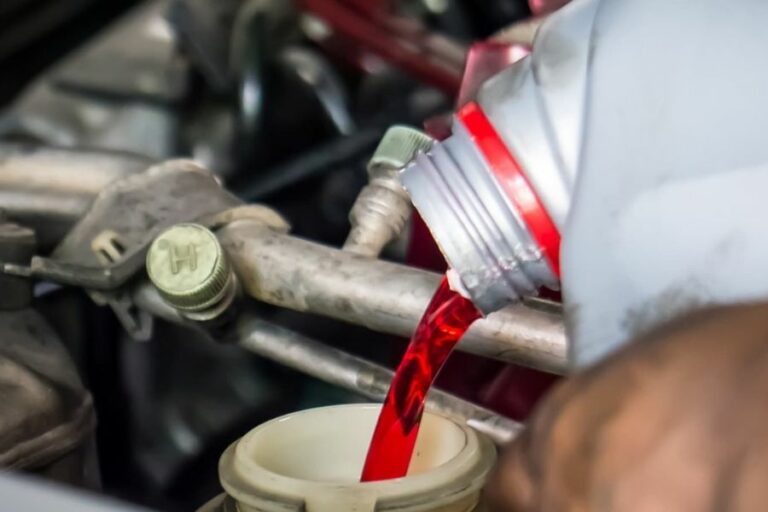
Read More About Why Does Radiator Fluid Turn Red
Can am Outlander Power Steering Fluid Location
If you’re like most people, you probably don’t think much about your vehicle’s power steering fluid. But if you have a Can-Am Outlander, it’s important to know where the power steering fluid is located.
Here’s a quick guide to help you find it:
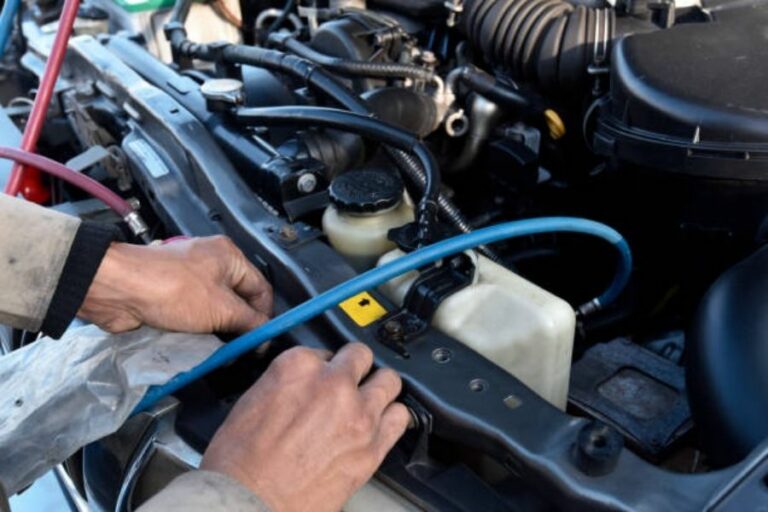
The power steering fluid reservoir is located on the passenger side of the engine compartment, near the firewall. It’s a small, white plastic container with a black cap. To check the level of fluid, remove the cap and look inside.
The level should be between the “full” and “low” marks on the side of the reservoir. If it’s low, add more fluid until it reaches the full mark. Now that you know where to find your power steering fluid reservoir, it’s important to check it regularly and top it off as needed.
This will help keep your Outlander running smoothly and avoid any potential problems down the road.
Can-Am Coolant
As the weather starts to warm up, we all begin to think about summertime activities. For many of us, this means hitting the trails on our ATVs or UTVs. But before you head out for a day of fun in the sun, it’s important to make sure your vehicle is ready.
Part of that preparation includes making sure your coolant is topped off and in good condition. Your engine produces a lot of heat as it runs, and the coolant helps to keep it from overheating. The coolant also protects your engine from corrosion and helps lubricate moving parts.
Over time, the coolant can break down and become less effective. That’s why it’s important to check it regularly and top it off as needed. Can-Am Coolant is specifically designed for use in Can-Am vehicles.
It’s a high-quality product that will help keep your engine running smoothly and prevent overheating. Can-Am Coolant is available at most automotive stores, or you can order it online from Can-Am directly.
Can-Am Outlander Coolant Capacity
The Can-Am Outlander is a versatile all-terrain vehicle that’s built to handle any terrain you throw at it. But like any ATV, it needs the right amount of coolant in order to keep its engine running properly. So how much coolant does the Can-Am Outlander need?
The Can-Am Outlander has a total coolant capacity of 3.2 gallons (12 liters). This includes both the radiator and the overflow tank. When adding coolant, be sure to use a 50/50 mix of water and antifreeze.
This will help protect your engine from corrosion and overheating. If you’re ever unsure about the level of coolant in your Outlander, simply check the dipstick on the overflow tank. The full line should sit just above the bottom of the threads.
If it’s below that, then it’s time to add more coolant.Read Also Will Freezing Radiator Fluid Cause Car Not To Start
Can-Am Coolant Replacement
Assuming you would like a blog post discussing the replacement of coolant in a Can-Am vehicle: “Can-Am Coolant Replacement Just like any other engine, the Can-Am engine needs coolant to keep it running properly.
Over time, the coolant can become dirty and need to be replaced. Here’s how to do a Can-Am coolant replacement.
What You’ll Need:
- Coolant
- Funnel
- Distilled water (if needed)
Step 1:
Prepare The Cooling System Start by making sure that the cooling system is clean before adding fresh coolant. The easiest way to do this is to run a flush kit through the system according to the manufacturer’s instructions.
This will remove all of the old coolant and any debris that may have been collected in the system. Once the system is flushed, it will need to be filled with distilled water before moving on to Step 2.
Step 2:
Add The New Coolant Using a funnel, add the new coolant to the radiator until it reaches the full line. Be sure not to overfill. If you’re unsure of what kind of coolant to use, consult your Can-Am dealer or owner’s manual for guidance.
Once the radiator is full, start up your engine and let it run for a few minutes so that the new coolant can circulate throughout the system. Then, turn off your engine and check under your hood for any leaks – if everything looks good, you’re all set.
Can-Am Outlander Brake Fluid Reservoir
The Can-Am Outlander Brake Fluid Reservoir is a crucial component of your braking system. It stores brake fluid so that it can be used when you need to brake suddenly. If your reservoir is empty, you will not have any brakes.
It is important to check your brake fluid level regularly and top it up if necessary. You should also bleed your brakes periodically to get rid of any air bubbles in the system. If you notice that your brakes are not working as well as they used to, make sure to check the fluid level in your reservoir.
It may be time for a new one.
Basic Car Care & Maintenance: Checking Car Radiator Coolant Level
Conclusion
If you’re like most people, checking your radiator fluid level is probably not something that’s at the top of your to-do list. However, it’s actually a pretty simple task that only takes a few minutes. Here’s how to do it:
- Park your vehicle on a level surface and let it cool down for at least 30 minutes. This step is important because if the engine is hot, the radiator fluid can be too hot to accurately check.
- Locate the radiator cap and unscrew it carefully. The steam that escapes can be very hot, so be careful not to get burned.
- Once the steam has dissipated, look inside the radiator’s neck for the level of fluid. It should be about halfway up the neck.
If it’s below that, then you need to add more fluid; if it’s above, then you have too much and should remove some.